
TL;DR: This article explains how to enable Hyper-V on both Windows 11 and Windows Server 2022. It covers system requirements, virtualization prerequisites, and provides step-by-step installation instructions using Windows Features (for Windows 11) and Server Manager (for Windows Server 2022).
Alongside VMware, Hyper-V stands as one of the most widely used hypervisors in organizations. Its primary function revolves around hosting virtual machines and various workloads on them.
Microsoft initially introduced the first version of Hyper-V in Windows 8 Professional and Windows Server 2008. Presently, Hyper-V remains accessible in Windows 11 and Windows Server 2022. Fortunately, the process of enabling Hyper-V hasn’t undergone significant changes. It can still be enabled using either GUI or PowerShell.
What Is Hyper-V and Benefits of Enabling Hyper-V in Windows 11?
Hyper-V is Microsoft’s built-in virtualization platform that allows users to create and manage virtual machines (VMs). Whether you’re a developer, IT professional, or tech enthusiast, Hyper-V is an excellent tool for:
- Testing new software in a safe environment
- Running multiple operating systems without additional hardware
- Creating isolated environments with enhanced security
Prerequisites for Enabling Hyper-V in Windows 11
Before enabling Hyper-V in Windows 11, ensure your system meets these requirements:
- Operating System: Windows 11 Pro, Enterprise, or Education; or Windows Server 2022
- Processor: A 64-bit CPU with SLAT (Second Level Address Translation)
- RAM: Minimum of 4GB (8GB or more recommended)
- BIOS Settings: Virtualization must be enabled in the BIOS/UEFI firmware
- Windows Features: Ensure your version supports Hyper-V (Home editions do not)
To check if your CPU supports virtualization, open Task Manager, go to the Performance tab, and look for “Virtualization: Enabled” under CPU details.
Table of Contents
Enable Hyper-V client in Windows 11
Hyper-V, when installed on Windows machines, including Windows 11 and earlier versions, is referred to as a Hyper-V on the client machine. To enable Hyper-V, follow these steps:
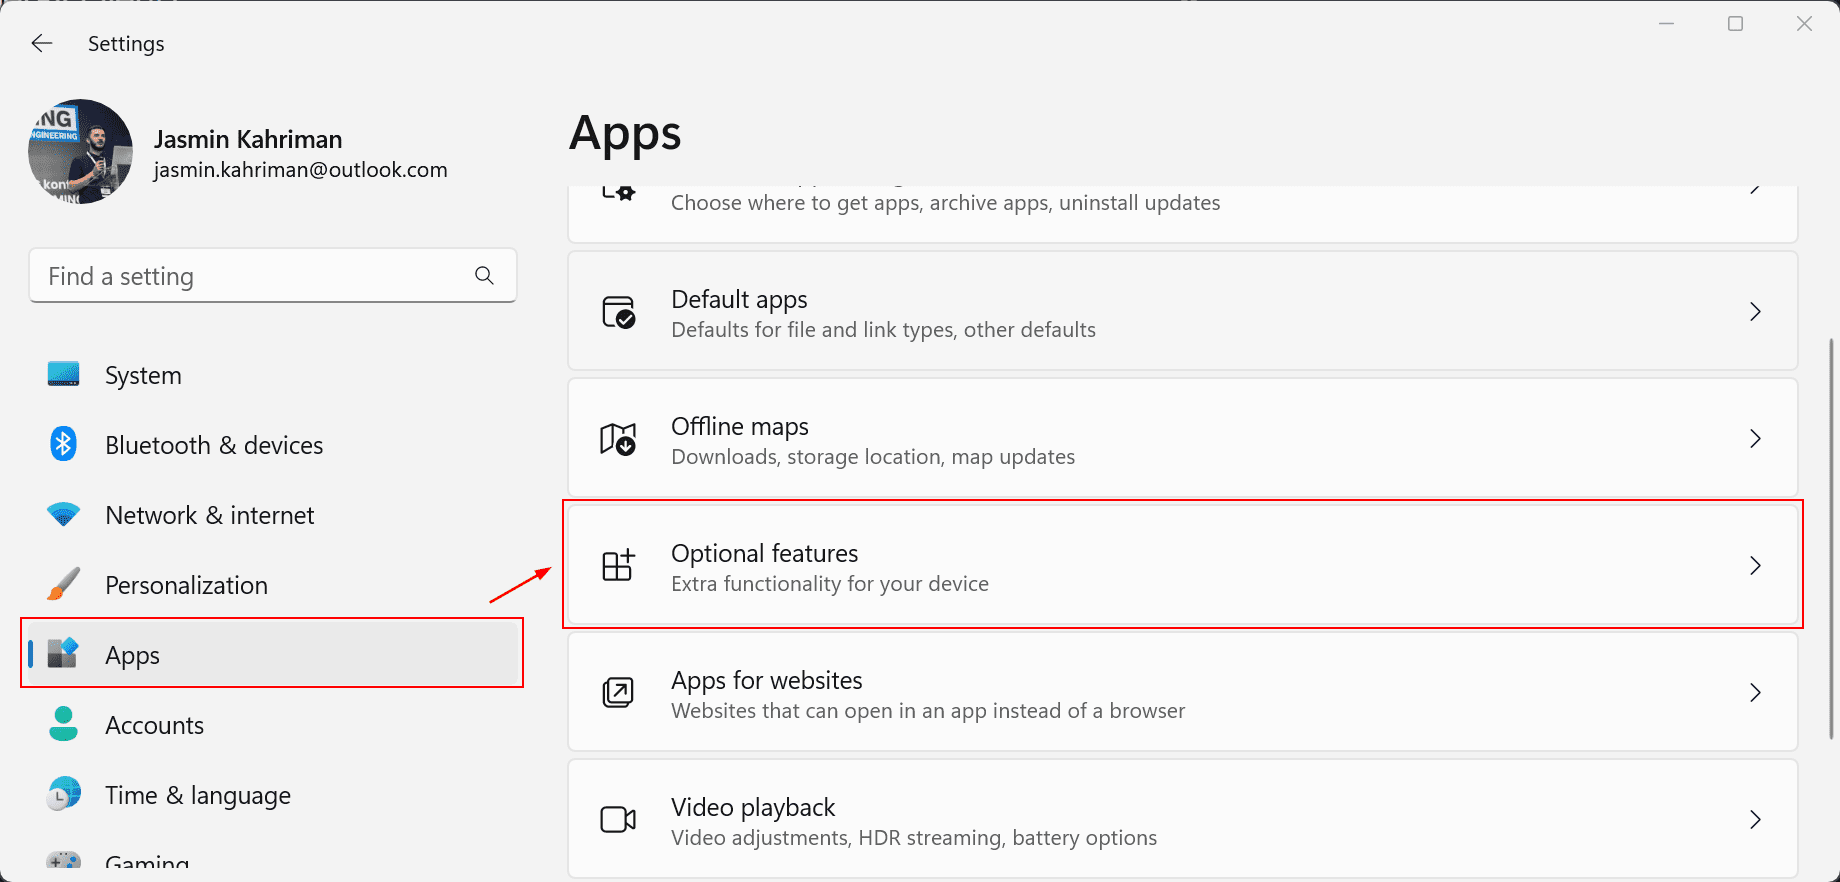
- Press the Windows logo key + I simultaneously to open the Settings menu
- Click on Apps and then click Optional features.
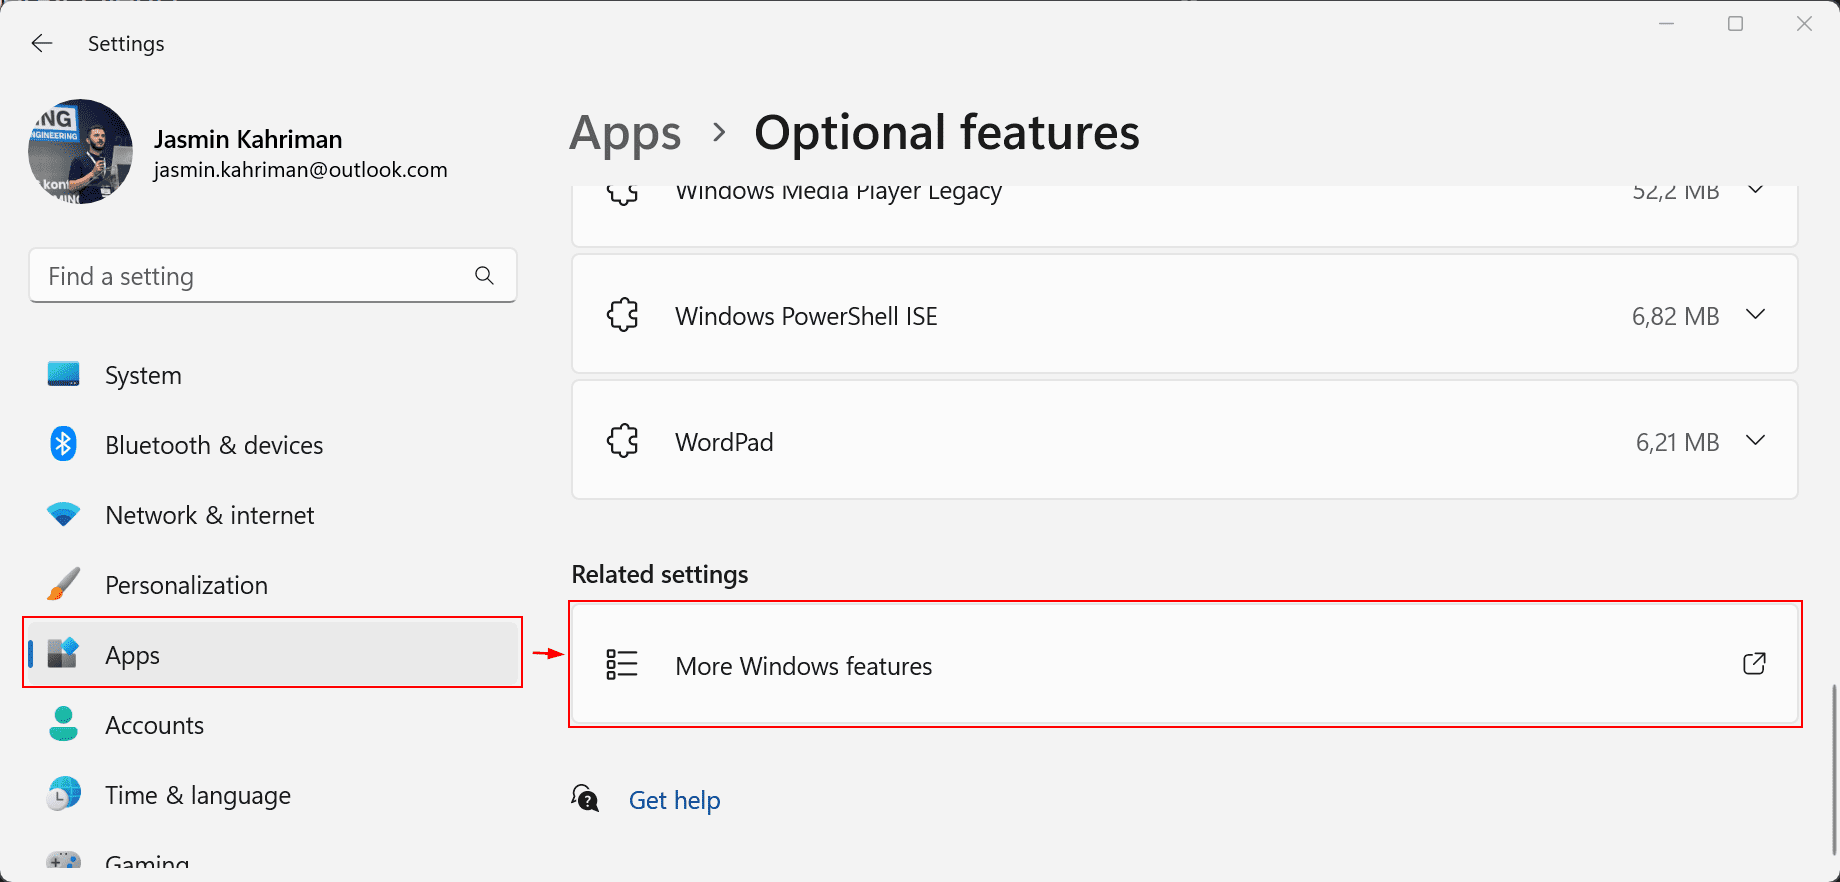
- Scroll down to Related settings and click on More Windows features
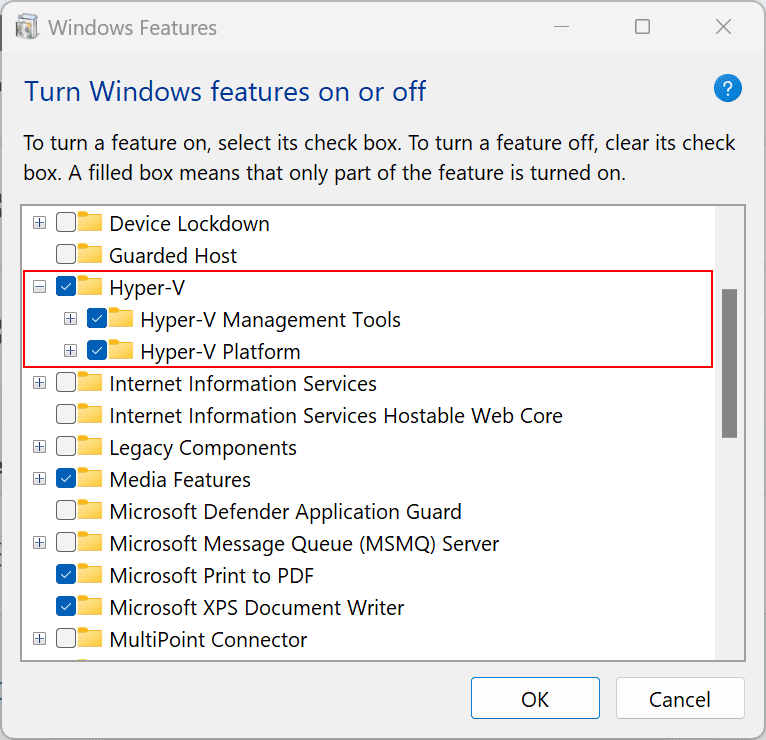
- Select Hyper-V and then click OK
- Once completed, click Restart now
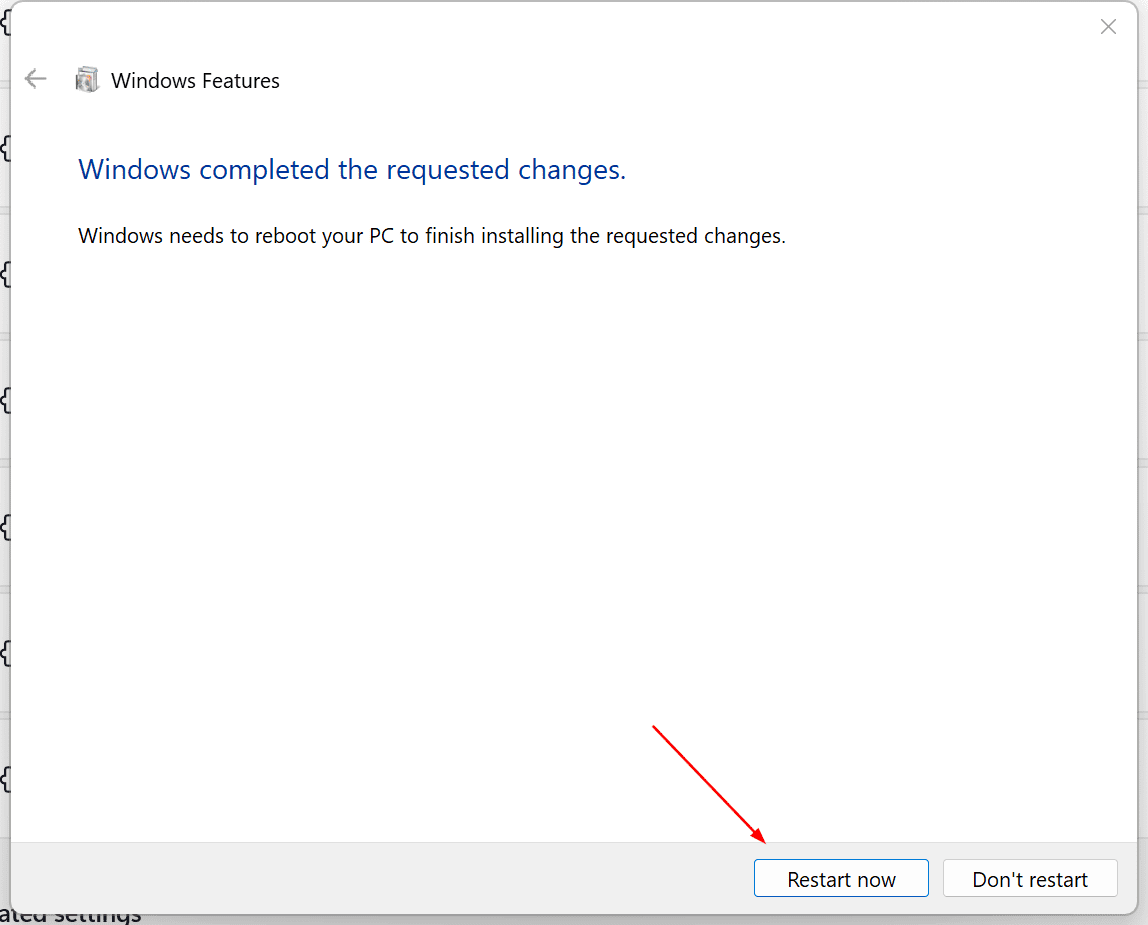
That is it. You successfully enabled Hyper-V in Windows 11.
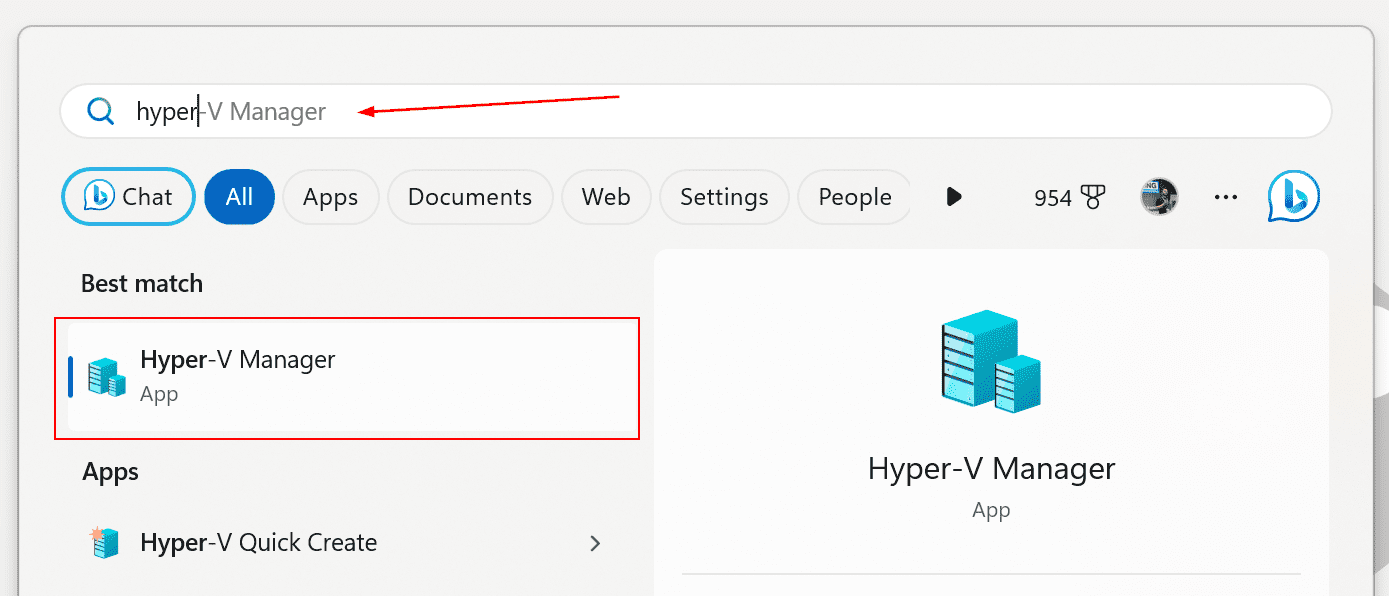
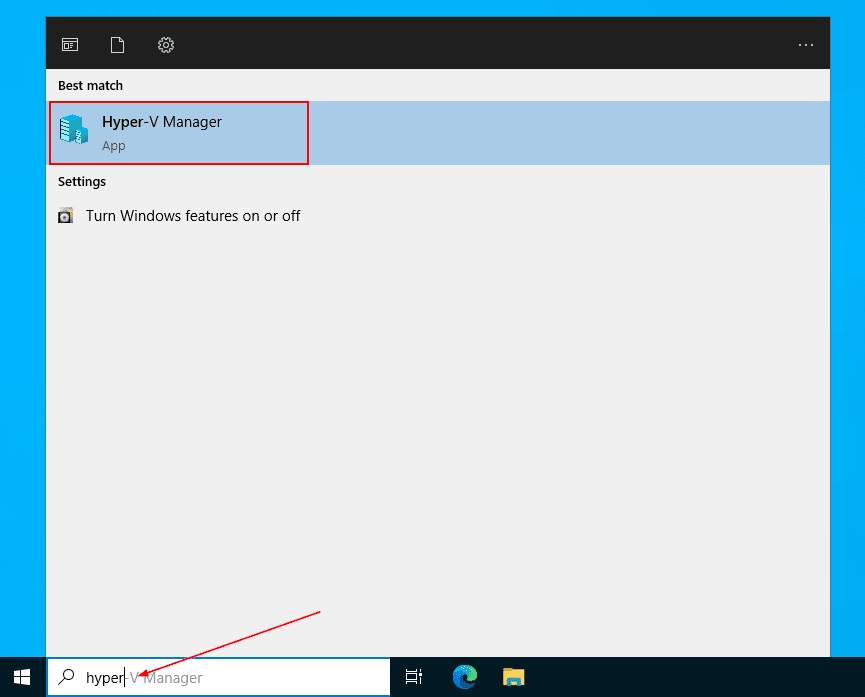
After Windows has rebooted, click on the Start Menu, and search for Hyper-V to run it.
Enable Hyper-V in Windows Server 2022
From Windows Server 2008 up to Windows Server 2019, you could install Hyper-V as a server role through Server Manager or as a standalone Hyper-V server (Server Core). Starting from Windows Server 2022, Microsoft didn’t release Hyper-V as a standalone product, but you can still install it as a server role. Here is how to do it.
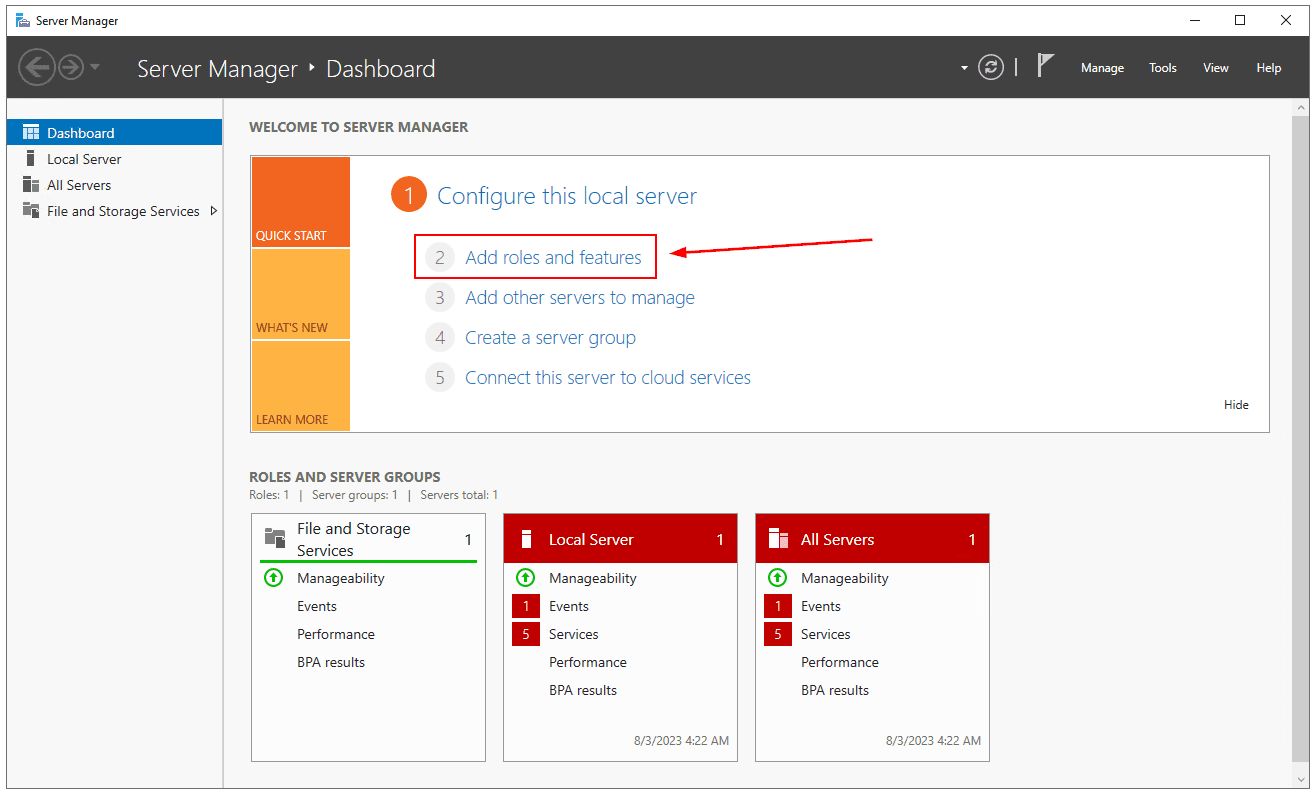
- Open Server Manager
- Click on Add roles and features
- Under Before you begin, click Next
- Under Select installation type, click Next
- Under Server selection, click Next
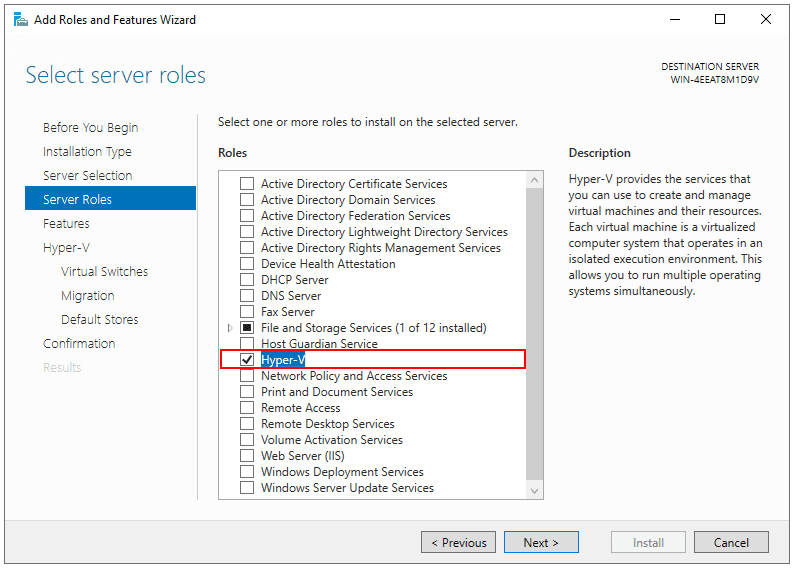
- Under Server roles, select Hyper-V and then click Add Features. Click Next
- Under Select features, click Next
- Under Hyper-V, click Next
- Under Create Virtual Switches, select network adapter/s and click Next
- Under Virtual Machine Migration, click Next
- Under Default Stores, click Next
- Under Confirm installation selections, select Restart the destination server automatically if required and then click Install
- You successfully enabled Hyper-V in Windows Server 2022. click on the Start Menu, and search for Hyper-V to run it
Hyper-V on Windows 11 – A Note on Limitations:
Hyper-V on Windows 11 is primarily designed for development and testing environments, and it lacks many of the enterprise-grade features found in Windows Server 2022 Hyper-V.
- Windows 11 Hyper-V is focused on basic virtualization needs and doesn’t include advanced networking features like Software-Defined Networking (SDN) and Network Virtualization
- Advanced storage features such as Storage Spaces Direct (S2D) and tiered storage might not be supported
- Fewer advanced management tools and options compared to the server version, limiting large-scale management and automation capabilities
- Hyper-V on Windows 11 does not support failover clustering for high availability and disaster recovery
- Limited or no support for live migration of virtual machines
- Hyper-V on Windows 11 lacks advanced features such as Hyper-V Replica, shielded virtual machines, and enhanced session mode
While in general Windows 11 Hyper-V can be used for basic virtualization tasks, it’s not recommended for production environments requiring high availability, disaster recovery, or advanced features. For these scenarios, Windows Server Hyper-V is the preferred choice.
FAQ
What editions support Hyper-V on Windows 11?
Hyper-V is available on Windows 11 Pro, Enterprise, and Education editions.
Can I enable Hyper-V without rebooting?
No, a system restart is required after enabling Hyper-V to complete installation.
Do I need virtualization enabled in BIOS?
Yes, hardware virtualization (Intel VT-x or AMD-V) must be enabled in BIOS/UEFI.
Can I install Hyper-V on Windows 11 Home?
No, Windows 11 Home does not support native Hyper-V installation.
We hope you found these steps straightforward. If there are any questions, please let us know in the comment section.
Fortify the security of your Hyper-V environment effortlessly by acquiring BDRShield: Download BDRShield
Discover the remarkable capabilities of Hyper-V backup with BDRShield and witness its effectiveness firsthand: Hyper-V Backup with BDRShield
Related Posts:
Hyper-V Configuration Versions and Generations
Securing Hyper-V Hosts and Virtual Machines
Hyper-V Mastery: A Step-by-Step Guide for Beginners to Elevate Your IT Skills and Boost Your Career
Follow our Twitter and Facebook feeds for new releases, updates, insightful posts and more.
